Move-out cleaning checklist room by room: everything to cover before handover
Use the tool
Final check before handover
Tick off each item as you inspect the empty home. Selections are not saved and disappear when you reload the page.
0 of 12 checks completed
A move-out cleaning should deliver the home empty and cleaned in accordance with what was agreed upon handover. Go through cabinets and drawers, appliances, bathroom, windows, floors, baseboards, and frames. If you order help, the written quote is the definitive answer for what is included. With Vaskeladden, the handover guarantee applies until the new owner or landlord has approved the cleaning, with no separate deadline.
Below you will find a room-by-room checklist. Take it room by room, check off as you go, and start with what takes the longest time – the oven and the bathroom.
Why is move-out cleaning so important at handover?
In a property sale, the seller must deliver the home "tidied and cleaned". If it is not, the buyer can withhold money, demand a re-clean, or make a deduction from the final settlement. Most disputes revolve around the same things: an oven with burnt-on grease, limescale on the shower wall, or dust on top of door frames. Take care of those details, and you avoid most complaints.
Remember that the home should be cleaned when it is empty. Clean with the furniture inside, and you will have to redo half of it.
Kitchen: start here, it takes the longest
The kitchen is the room buyers check most thoroughly, and the oven is where people look first.
The written quote always determines the scope. With Vaskeladden, one kitchen, appliances where they stand, and windows within safe reach are part of the standard. Storerooms, balconies, garages, fireplaces, extra kitchens, and extra grout scrubbing are examples of additions. Other providers may have a different list.
- Empty all cabinets and drawers, clean inside and out, including handles and the top of upper cabinets.
- Clean the inside of the oven – rack, baking sheets, and glass. Use oven cleaner on burnt-on grease and let it work for 20-30 minutes.
- Clean the stovetop, and lift off the plates/grate if you have gas or induction with loose parts.
- Clean the extractor fan externally and replace or wash the grease filter. A greasy filter is a classic cause for complaint.
- Empty and defrost the fridge and freezer, clean inside, and clean the back and the floor underneath. If you use a company, pull out the appliances yourself before starting if it is to be cleaned behind them – the cleaner does not move heavy objects.
- Clean the countertop, tiles above the counter and the grout, and the drain in the sink.
- Clean the dishwasher: filter, rubber seal, and door edge.
- Wipe down baseboards, outlets, switches, and the floor at the end.
Bathroom: limescale, grout, and drains are key
The bathroom is the second most time-consuming room. Here lie two things most people forget: limescale on glass and tiles, and hair in the drain.
- Remove limescale from shower walls, mixer taps, and acid-resistant tiles according to the product's instructions. Keep vinegar, citric acid, and acidic descalers away from marble, limestone, travertine, and other surfaces that are not documented as acid-resistant. Use a pH-neutral, stone-suitable agent there.
- Scrub the grout around the shower and bathtub with a product suitable for the material. Never mix chlorine-based products with vinegar or other acids – Giftinformasjonen warns that the mixture can form chlorine gas.
- Clean the drain: remove hair and sludge, both in the shower and under the sink.
- Clean the toilet inside and out, including behind the bowl and the floor fixings.
- Polish mirrors, glass shelves, and shower doors until streak-free.
- Empty and clean bathroom cabinets and medicine cabinets inside.
- Clean the washing machine's drawer, rubber seal, and filter if the machine is included.
- Wipe baseboards, door frame, and vent, and clean the floor last.
Bedroom: simple, but do not skip the details
- Dust window sills, curtain rods, and the tops of wardrobes.
- Empty and clean the wardrobe inside, including shelves and hooks.
- Wash windows inside and outside where you can reach safely. Vaskeladden's limit is normally approximately 300 cm from the ground or stepladder.
- Clean baseboards, outlets, switches, and light points.
- Vacuum and wash the floor, including into corners and under where the bed stood.
Living room: surfaces, corners, and what you do not see daily
- Dust everywhere, including on top of door frames, baseboards, and heaters.
- Wash windows inside and outside where you can reach safely, and polish the window sills.
- Clean radiators and electric heaters – dust accumulates between the fins.
- Wipe switches, power outlets, and any recessed spotlights.
- Clean the floor thoroughly, including under where the sofa and shelving unit stood.
Windows: how to avoid streaks
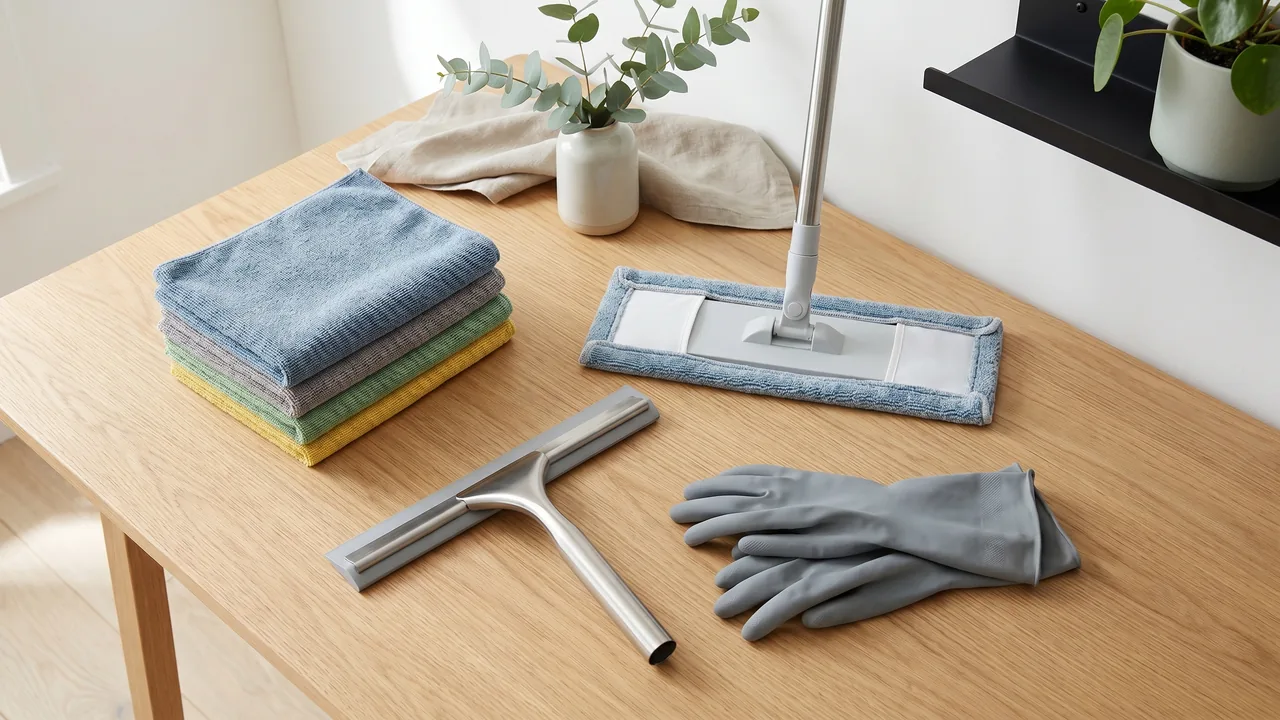
Dirty or streaky windows ruin an otherwise good impression. Clean on a cloudy day – sun dries the water too quickly and leaves streaks. Use a squeegee and wipe off with a clean microfiber cloth at the end. Remember the inside of the frame and the track where the window closes, where dirt and dead insects gather. If you want a thorough method, see how to clean windows without streaks.
Baseboards, door frames, and what people forget
These are the details that determine whether the cleaning looks "pro".
- Wipe down all floor baseboards and crown moldings with a damp cloth.
- Wash doors on both sides, and especially the top edge of the door leaf.
- Clean door frames and door handles – handles quickly become sticky.
- Wipe down light switches and power outlets with a well-wrung cloth (not wet).
- Brush or wipe dust off vents and exhaust grilles.
Storeroom, garage, and common areas
These areas are outside the home itself and may be additions if you order move-out cleaning. Only include them if they are part of the handover or stated in the quote.
- Empty the storage room completely, sweep, and wash the floor.
- Wipe shelves and walls where there is dust or cobwebs.
- Sweep the garage floor and remove oil stains with a degreaser.
- Remember common areas at your disposal, such as a basement storage unit or attic storage unit.
- Empty the mailbox and remove old name tags.
How long does a move-out cleaning take?
The time required depends on the size and how dirty the home is. The table below is a rough estimate for one adult cleaning thoroughly:
| Home size | Type | Estimated time (one person) |
|---|---|---|
| 30 sqm | Studio/small one-room apartment | 3-5 hours |
| 60-80 sqm | Apartment | 6-10 hours |
| 100-120 sqm | Townhouse | 10-15 hours |
| 120 sqm+ | Detached house | 12-20 hours |
The oven, bathroom, and windows typically take half the time. If there are two of you, you can almost halve the total time if you divide the rooms between you.
When should you hire a pro?
If you clean yourself, you save on labor costs, but you spend a full day or two – often in the middle of a stressful move. If you book, check what the guarantee actually says. With Vaskeladden, the complaint window is open until the new owner or landlord has approved the handover. If the cleaning is not approved, we rectify the agreed points at no extra cost.
If you are booking, check that the company has a lawful status in Renholdsregisteret: “Godkjent”, “Søknad under behandling”, or “HMS-kortbestilling under behandling”. The Norwegian Labour Inspection Authority explains what buyers must verify – read more about legal cleaning services and Renholdsregisteret. If you want to know the cost, see the dated examples in our guide to what move-out cleaning costs.
Sources and methodology
The checklist is based on Vaskeladden's standard terms and assignment list, verified on 12 September 2026. The safety advice regarding chlorine gas has been verified against the Norwegian Poison Information Centre (Giftinformasjonen), and the registry requirement against the Norwegian Labour Inspection Authority. The article was written by Johannes Opdahl, who follows up on deliveries and complaints for our residential customers. The interactive checklist does not store any information; the checkmarks only exist in the browser until the page is reloaded.